
Create a template
A template is your email: a subject and your own HTML. You get a preview of exactly what recipients will see, and you can send yourself a test.
1. Paste your HTML
Go to Templates, give the new template a name and create it. Then fill in:
- Subject, the line people see in their inbox.
- Email language, which sets how
{{greeting}}is written. - Preheader (optional), the short preview text beside the subject.
- HTML, your full email.
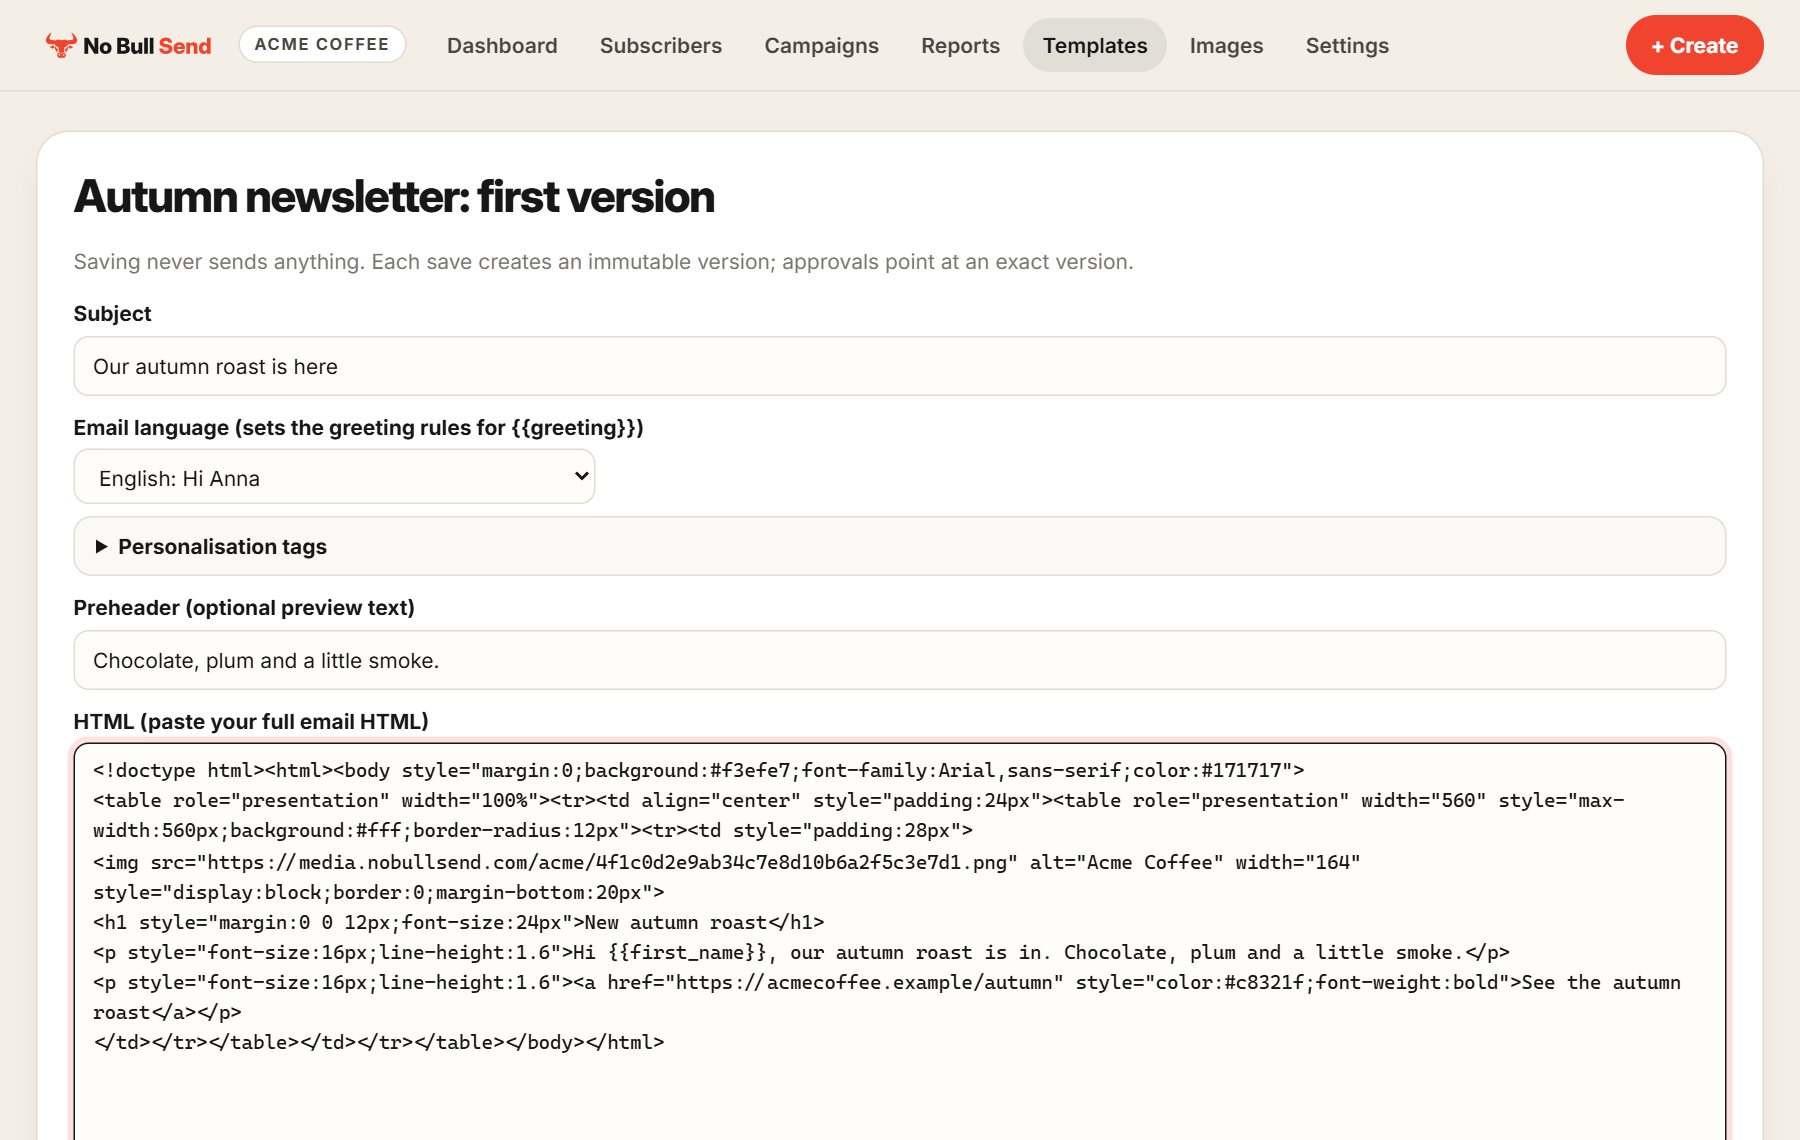
To personalise it, use tags such as {{first_name}}. Open Personalisation tags in the editor for the full list. Contacts without a name get the fallback. For images, use a link from Host your images.
2. Read the checks
When you save, we check the email and tell you what we found. If your HTML has no unsubscribe link, one is added to the footer for you. Each save creates a new version, so you can't lose an earlier one.
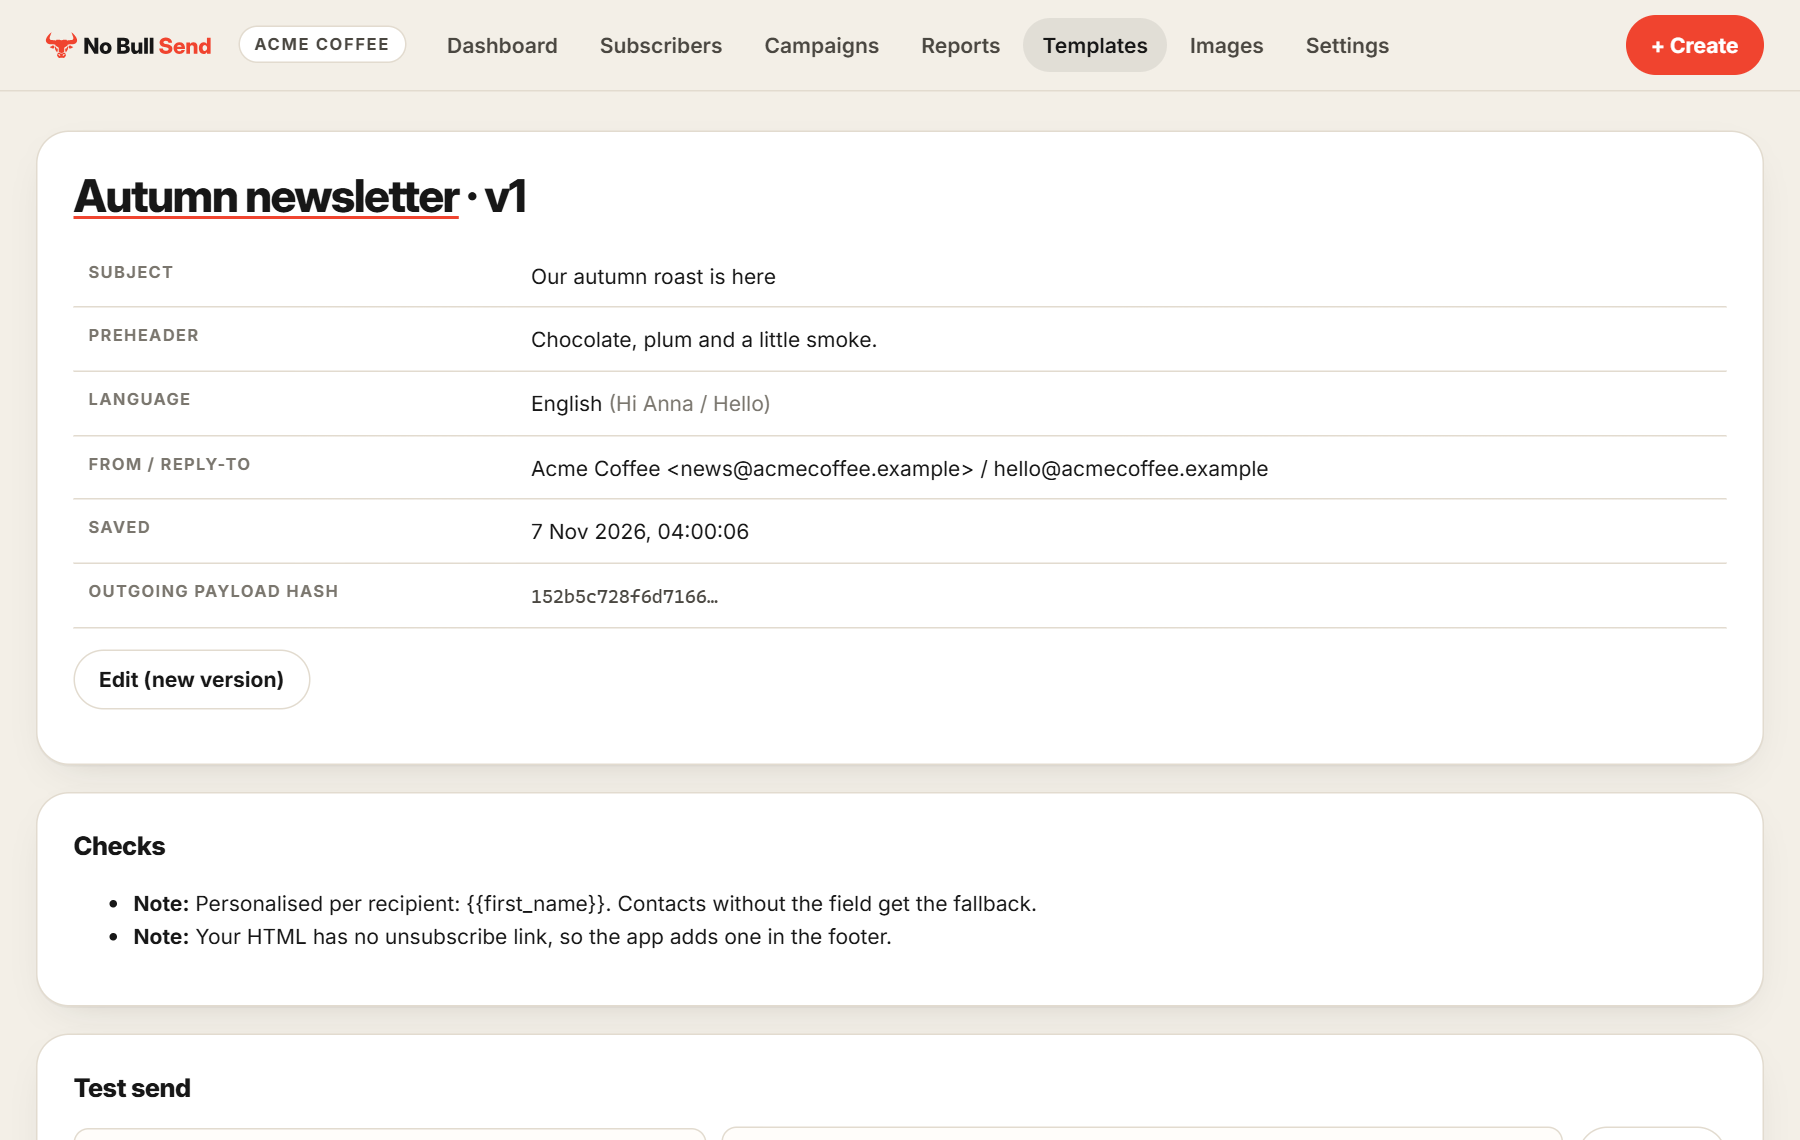
Every email has to show a postal address. If you haven't added yours, the checks say so, and real campaigns stay blocked until you add it in Settings.
3. Look at the preview
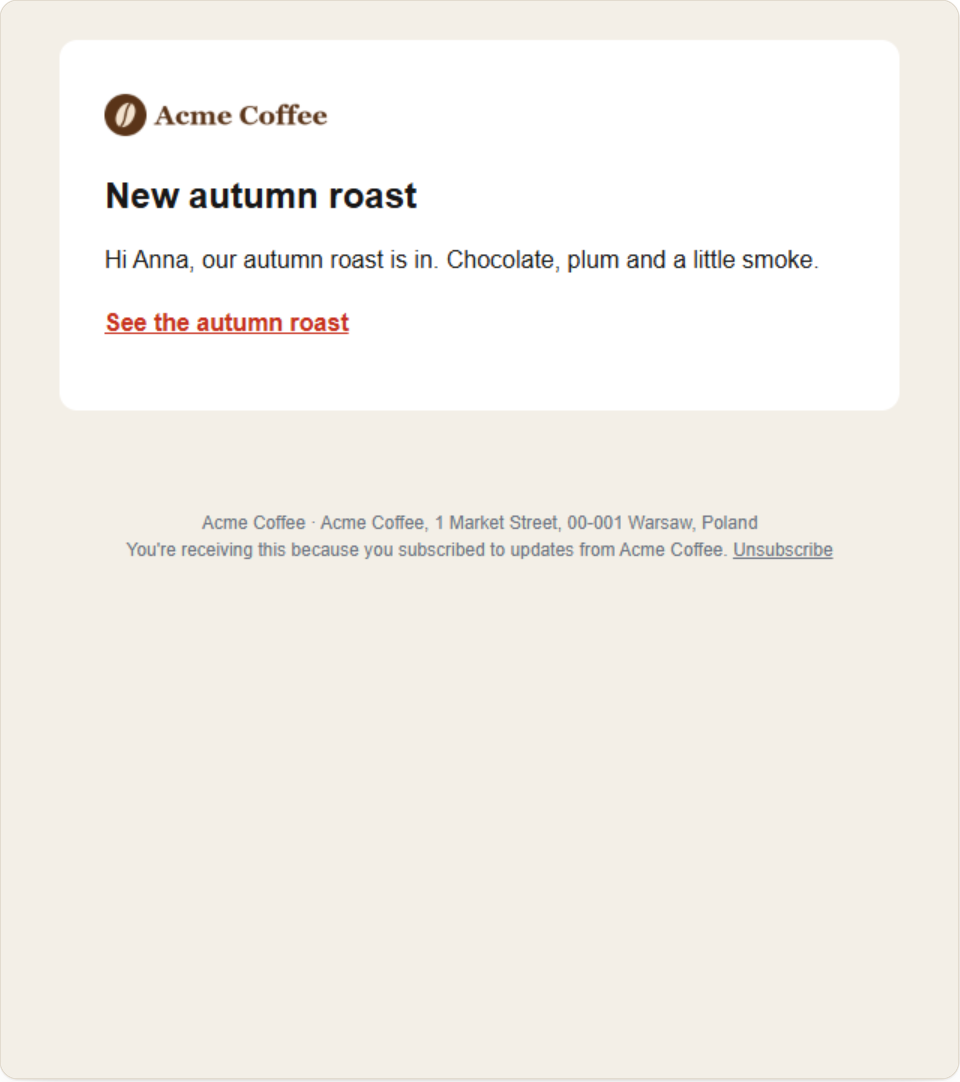
The preview is the final message, footer included. Switch between Desktop and Mobile, and between As a sample contact and Without a name.
4. Send yourself a test
Under Test send, pick an inbox and choose Send test. Tests only go to your own test inboxes from Settings or a built-in test address, the subject starts with [TEST], and they never change a campaign. Open it in your real inbox, because that's the true check of how it looks.